

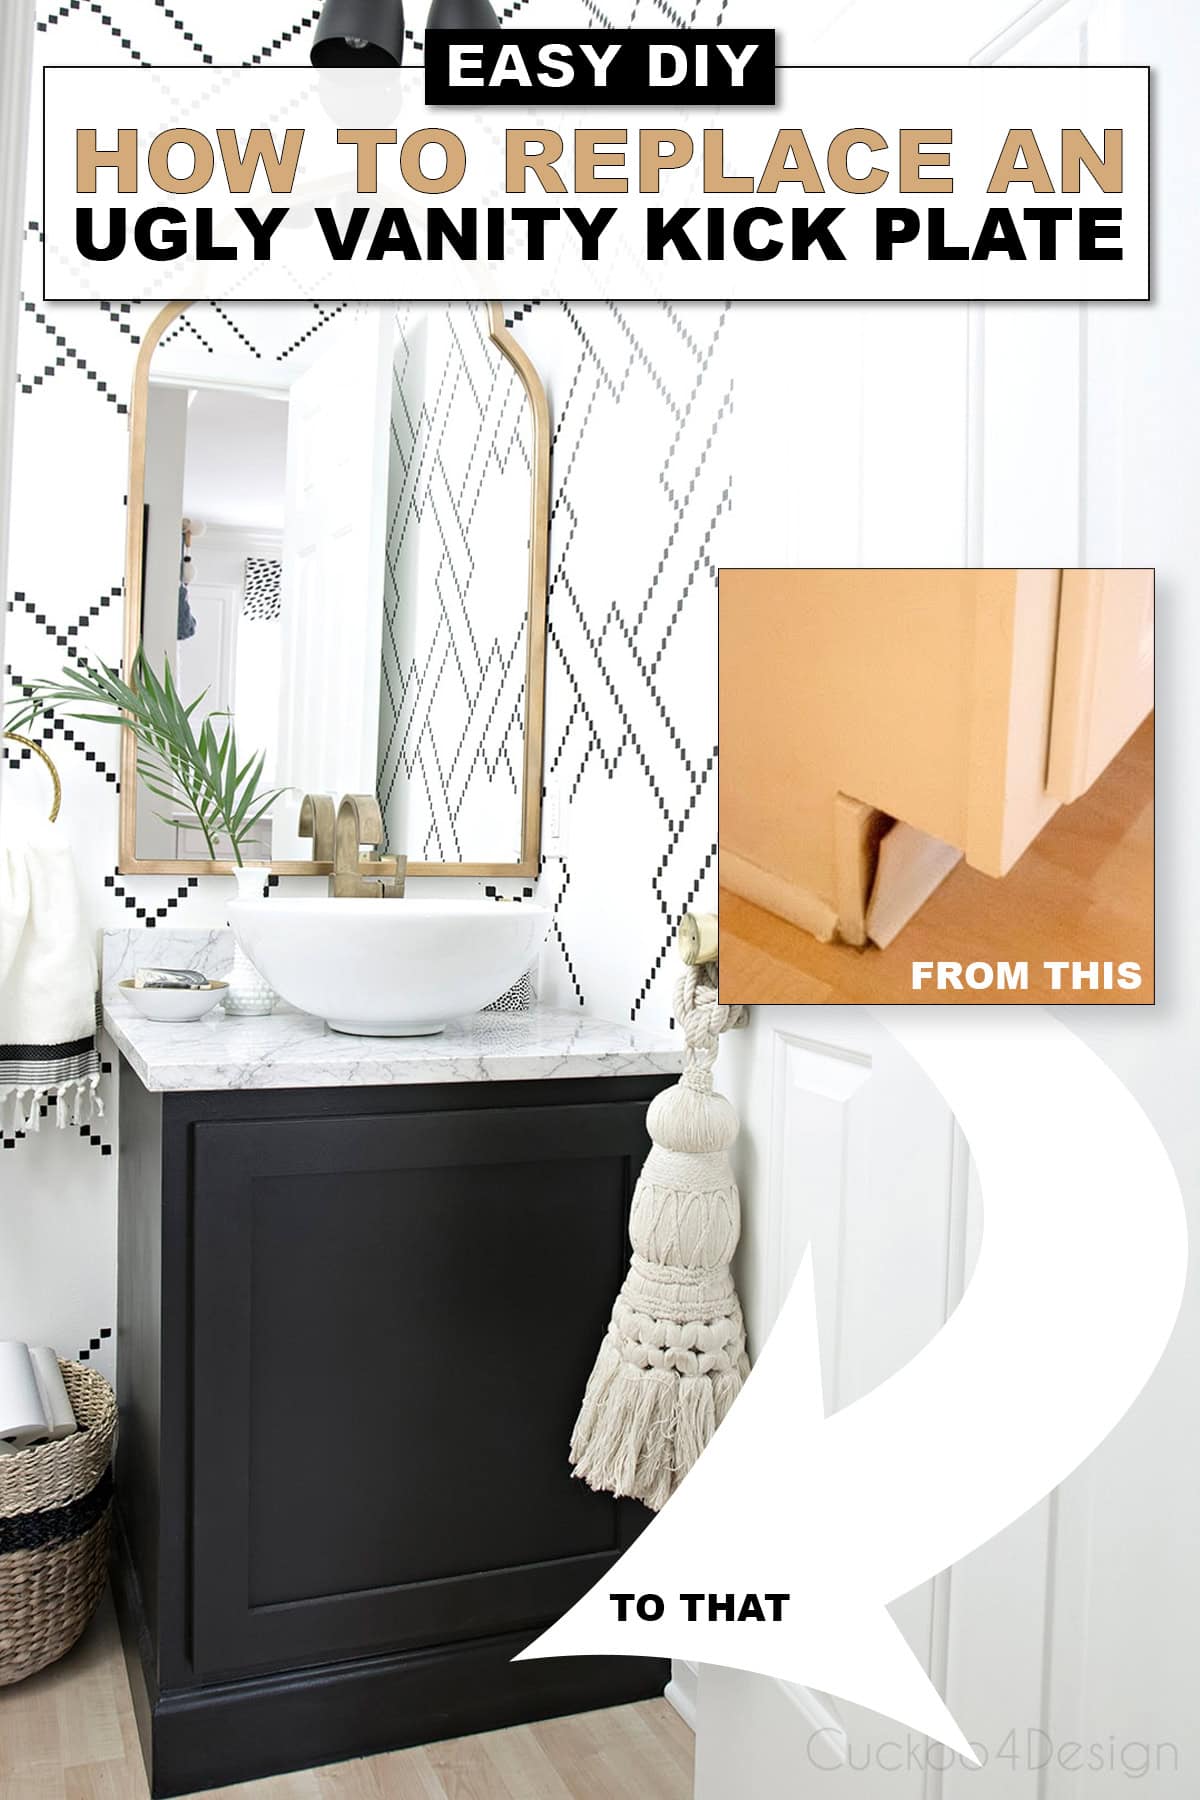
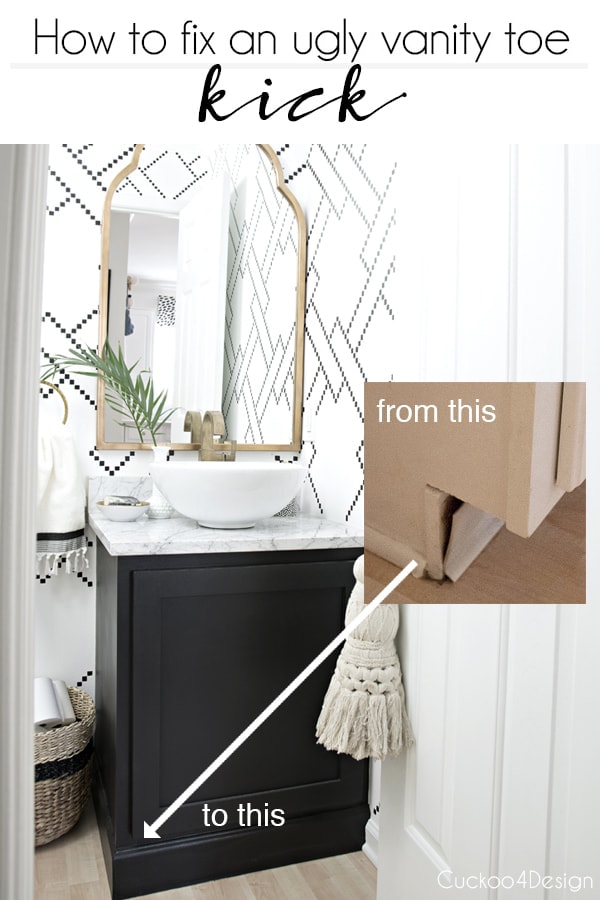
How to replace an ugly vanity kick plate
If you’re dealing with a cheap vinyl kick plate on your bathroom vanity, I’ll show you how I completely transformed mine using simple molding and 2x4s. This easy bathroom vanity toe kick replacement makes your standard builder cabinet look like a custom piece of furniture. No need to replace the entire vanityand the best part is that this DIY costs under $20.
Check out my easy cabinet kick plate makeover below!
Supplies needed for the cabinet kick plate makeover
This post may contain affiliate links from which I will earn a commission at no extra cost to you. View my full disclosure policy.
- interior 2×4 lumber (one piece)
- liquid nails
- coping saw
- pencil
- measuring tape
- miter saw (I have an electrical one, but a hand miter saw works too)
- doorjam undercut saw
- drill and a small drill bit
- finishing nails
- hammer
- paintable caulk
- decorative molding in the same height as the toe kick of the vanity – make sure to measure your vanity! (I like buying my molding at Home Depot because they let you cut the molding to the size you need and don’t make you buy a large piece.)
Step-by-step project instructions
Here is what the builder’s standard cabinet looked like before the makeover. I really dislike the cheap-looking piece of vinyl the builder glued to the cabinet toe kick.


Let me walk you through what I did to my vanity toe kick.
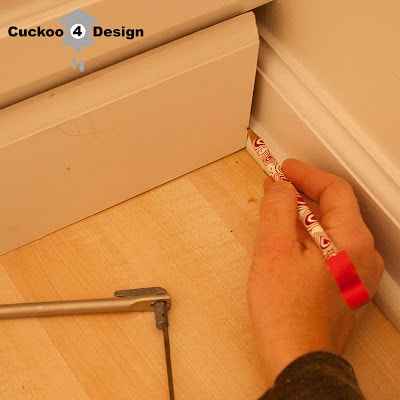
Step 1: Remove the vinyl kick plate
The first step is prying off that ugly vinyl kick plate. I was able to mostly just rip it off by hand. If that doesn’t work, use a putty knife to get between the vinyl and glue.
When I removed the vinyl toe kick, this is what I was left with. A hardened glue mess. Yuck!

Don’t worry about the dried glue left behind, because we’ll be covering it up completely.
Step 2: Measure and cut the 2×4 filler pieces
When I thought about how I wanted to tackle this little makeover, I noticed that the depth of the toe kick notch-out fit two 2x4s exactly. See the photos below

If you are a professional wood-worker, please don’t cringe, cry, or ram your head against a wall. I know this isn’t what you would do. So you probably should just move on since I’m just some stay-at-home-mommy doing my thing. Ok? No hurt feelings 😉 The end result looks great, though.
Measure the length of your vanity kick plate area and cut your 2x4s to fit. You’ll likely need two 2x4s stacked to fill the depth, depending on your vanity.
Step 3: Attach the 2x4s with Liquid Nails
So I attached them with liquid nails. Sometimes I just prefer using that magical glue. I didn’t want to use too much force attaching them with nails or screws. It worked great!
Can you also see that I cut the little white piece that stuck out on the side with a doorjam undercut saw. I only had to protect the side of the cabinet with a towel.


Step 4: Cut the decorative molding to fit
Then I moved to cutting out the side molding. And yes, I could have (or maybe should have) removed the wall molding and cut that to size instead of doing it the way that I did it, but for me, it was easier this way. And I can’t remove the vanity since the floor was built around it. So if we ever do something different in this powder room, it will have to be a total removal of everything anyway.
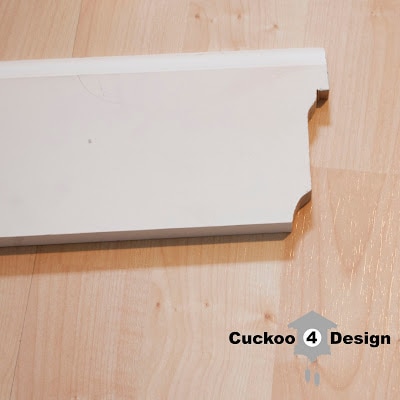
I marked the profile onto my molding.
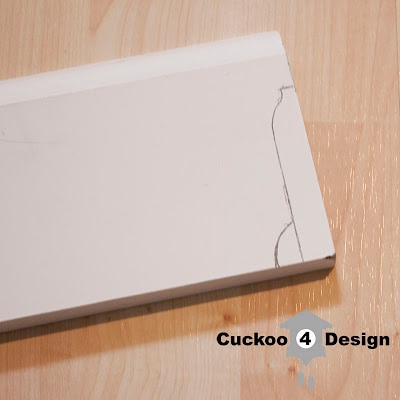
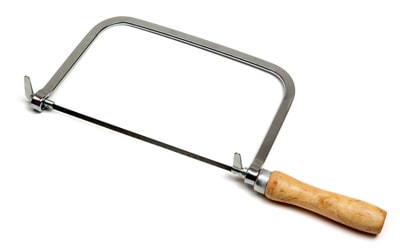
And then I used a coping saw to cut out the shape. This sounds harder than it actually is. I have used the coping saw before for when I put up our crown molding. A coping saw is pretty easy to use and maneuver to cut out a profile on molding.
Here is what the piece looked like after.
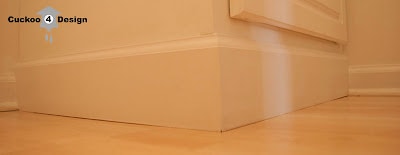
I had to do this twice for both sides of the vanity that meet the wall molding.
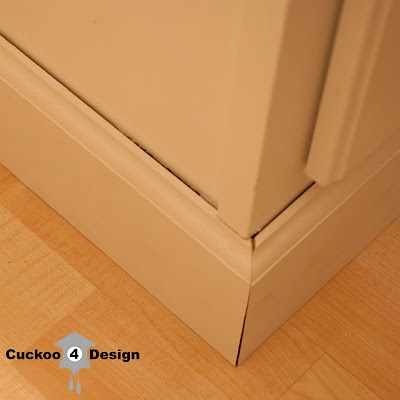
Step 5: Cut 45-degree angles for corner joints
Then I moved on to cutting the two 45-degree angles that you can see in the photo below that meet on the corner of the cabinet. I used my power miter saw, but you can use a hand saw too, which works pretty easily.
Step 6: Attach Molding and Fill Gaps
To attach the toe kick molding to the vanity, I had to pre-drill holes on the molding for the finishing nails, then hammering the nails in and caulking all the small gaps.

Step 7: Prime and paint the new kick plate
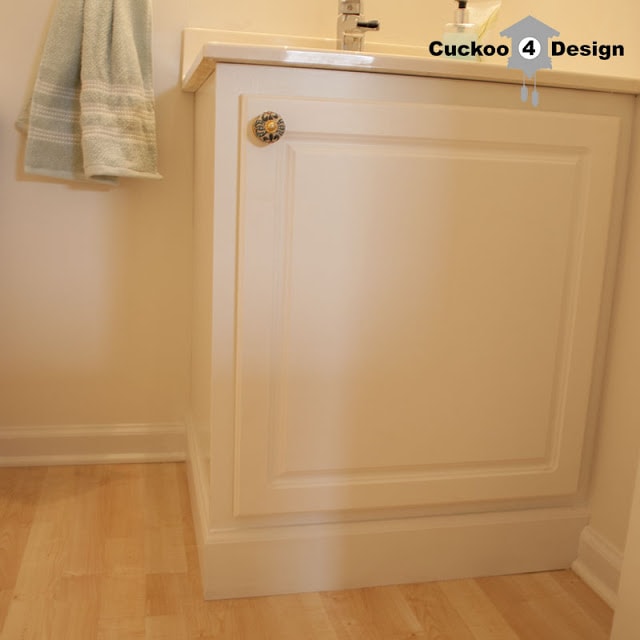
After that, I primed the molding one more time, even though I bought primed base molding.
And two coats of white paint and voila here is the vanity after in white.
Photos of the finished vanity kick plate and bathroom (over the years)
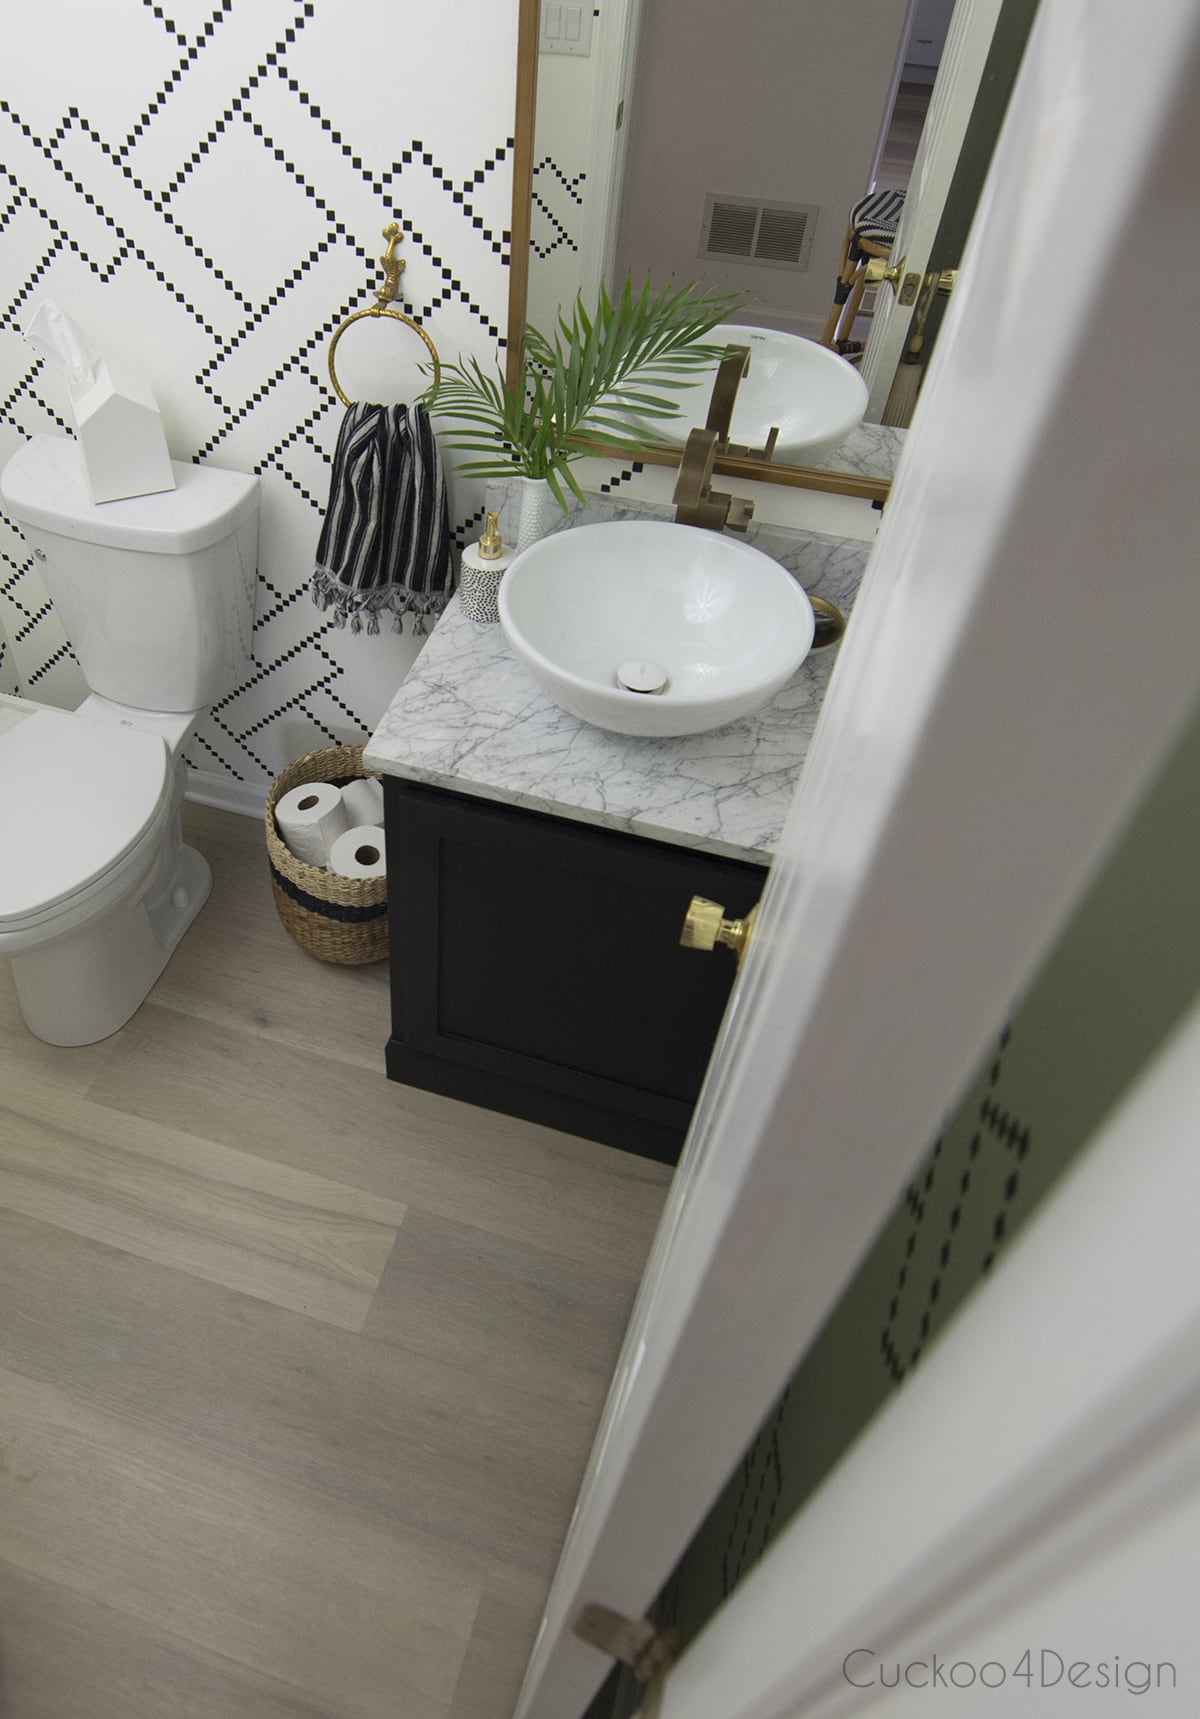
Here is a view of the full powder room with some of my other DIYs when it was a white vanity. Keep scrolling if you are here for the black vanity version.
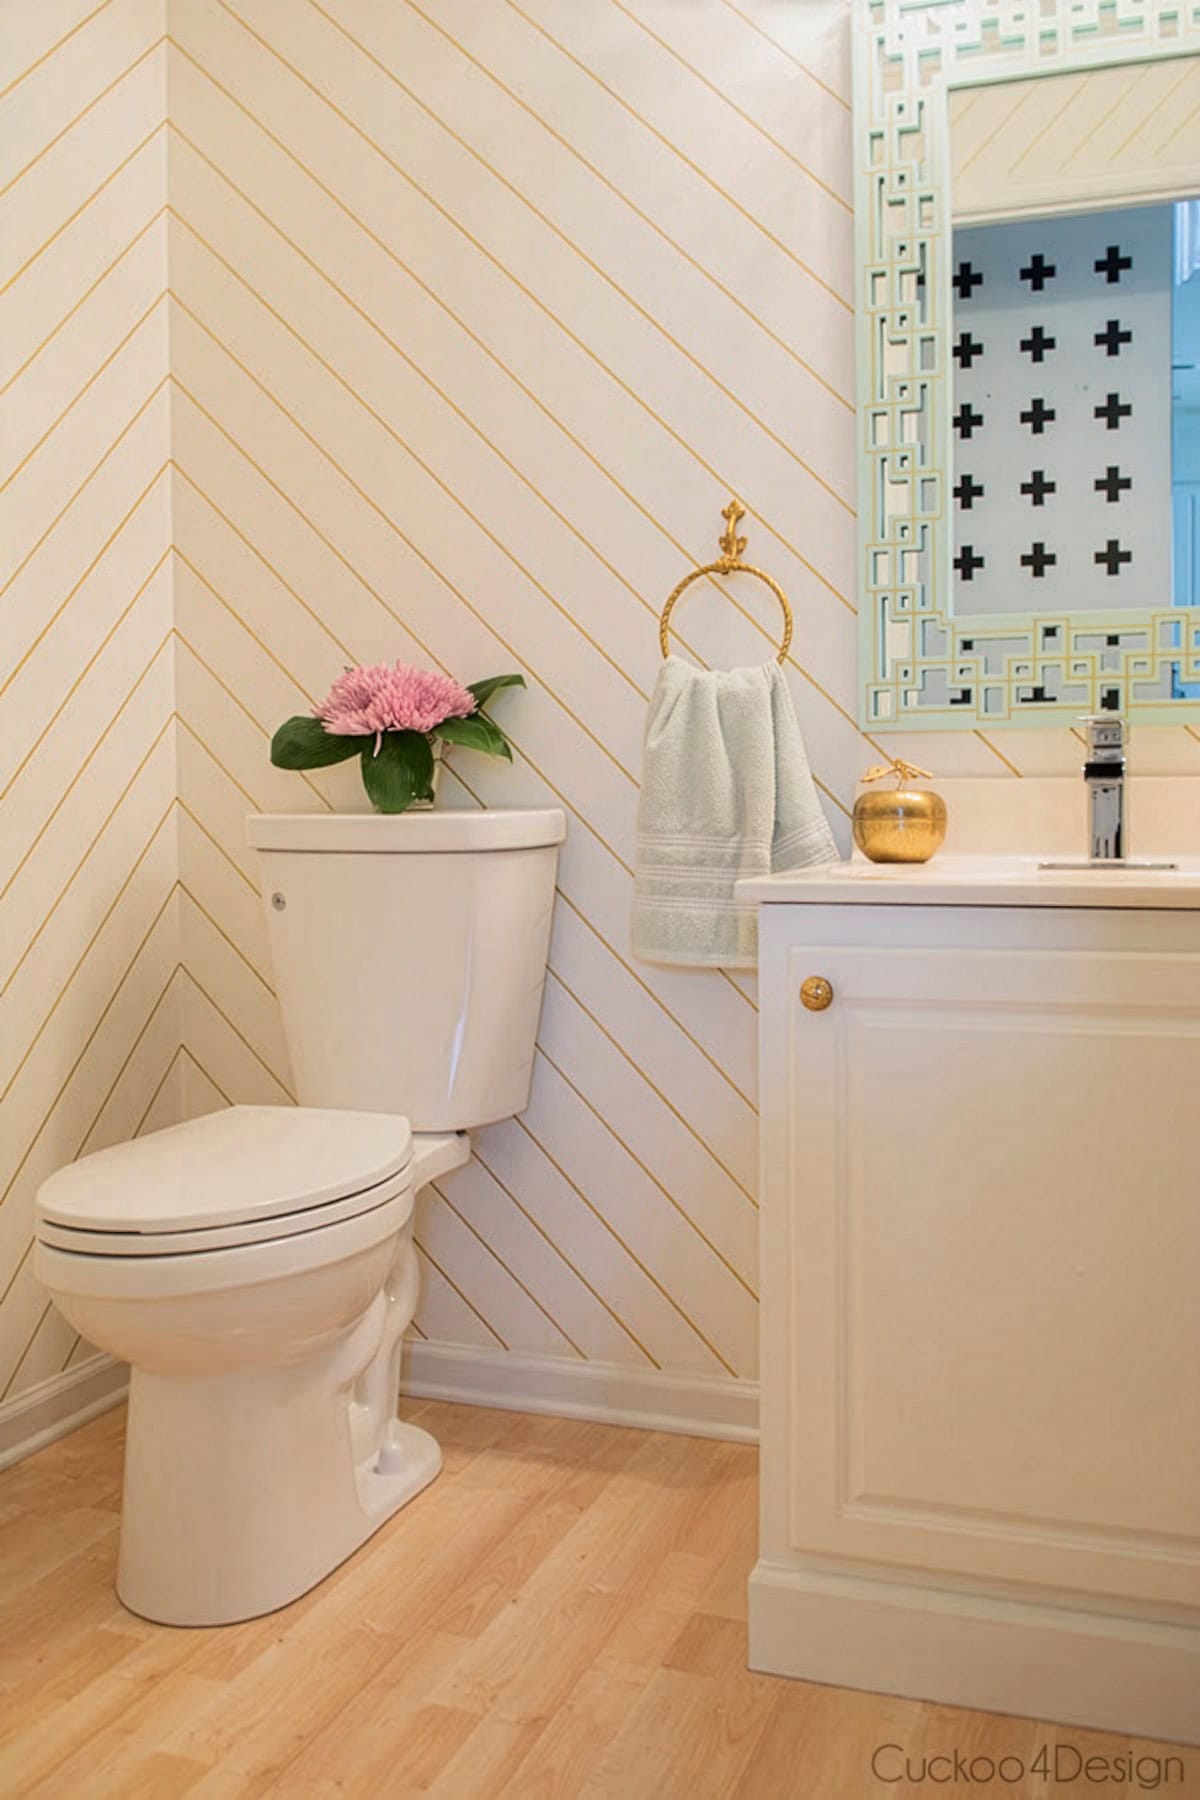
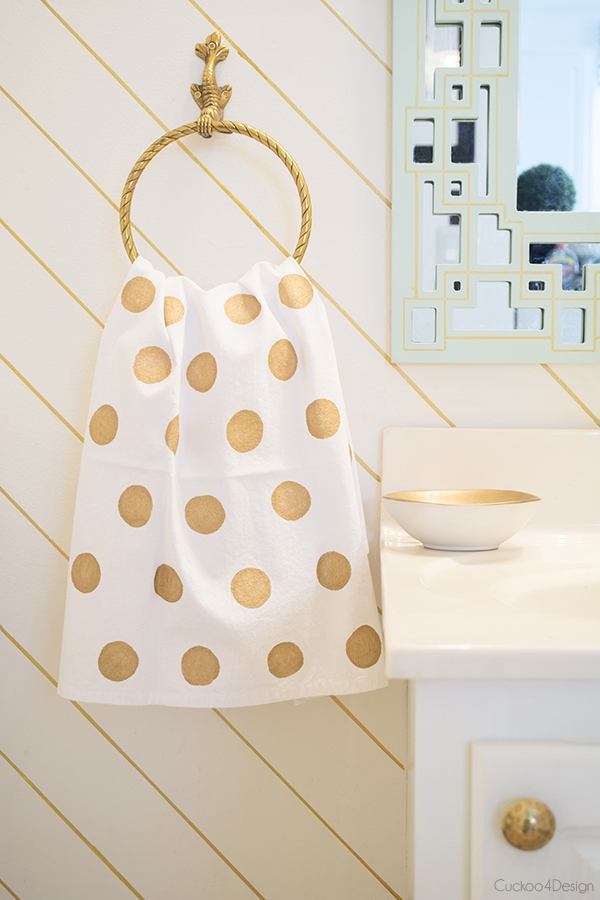
I also painted the walls with a cheap sharpie wall treatment and my DIY painted handtowel.
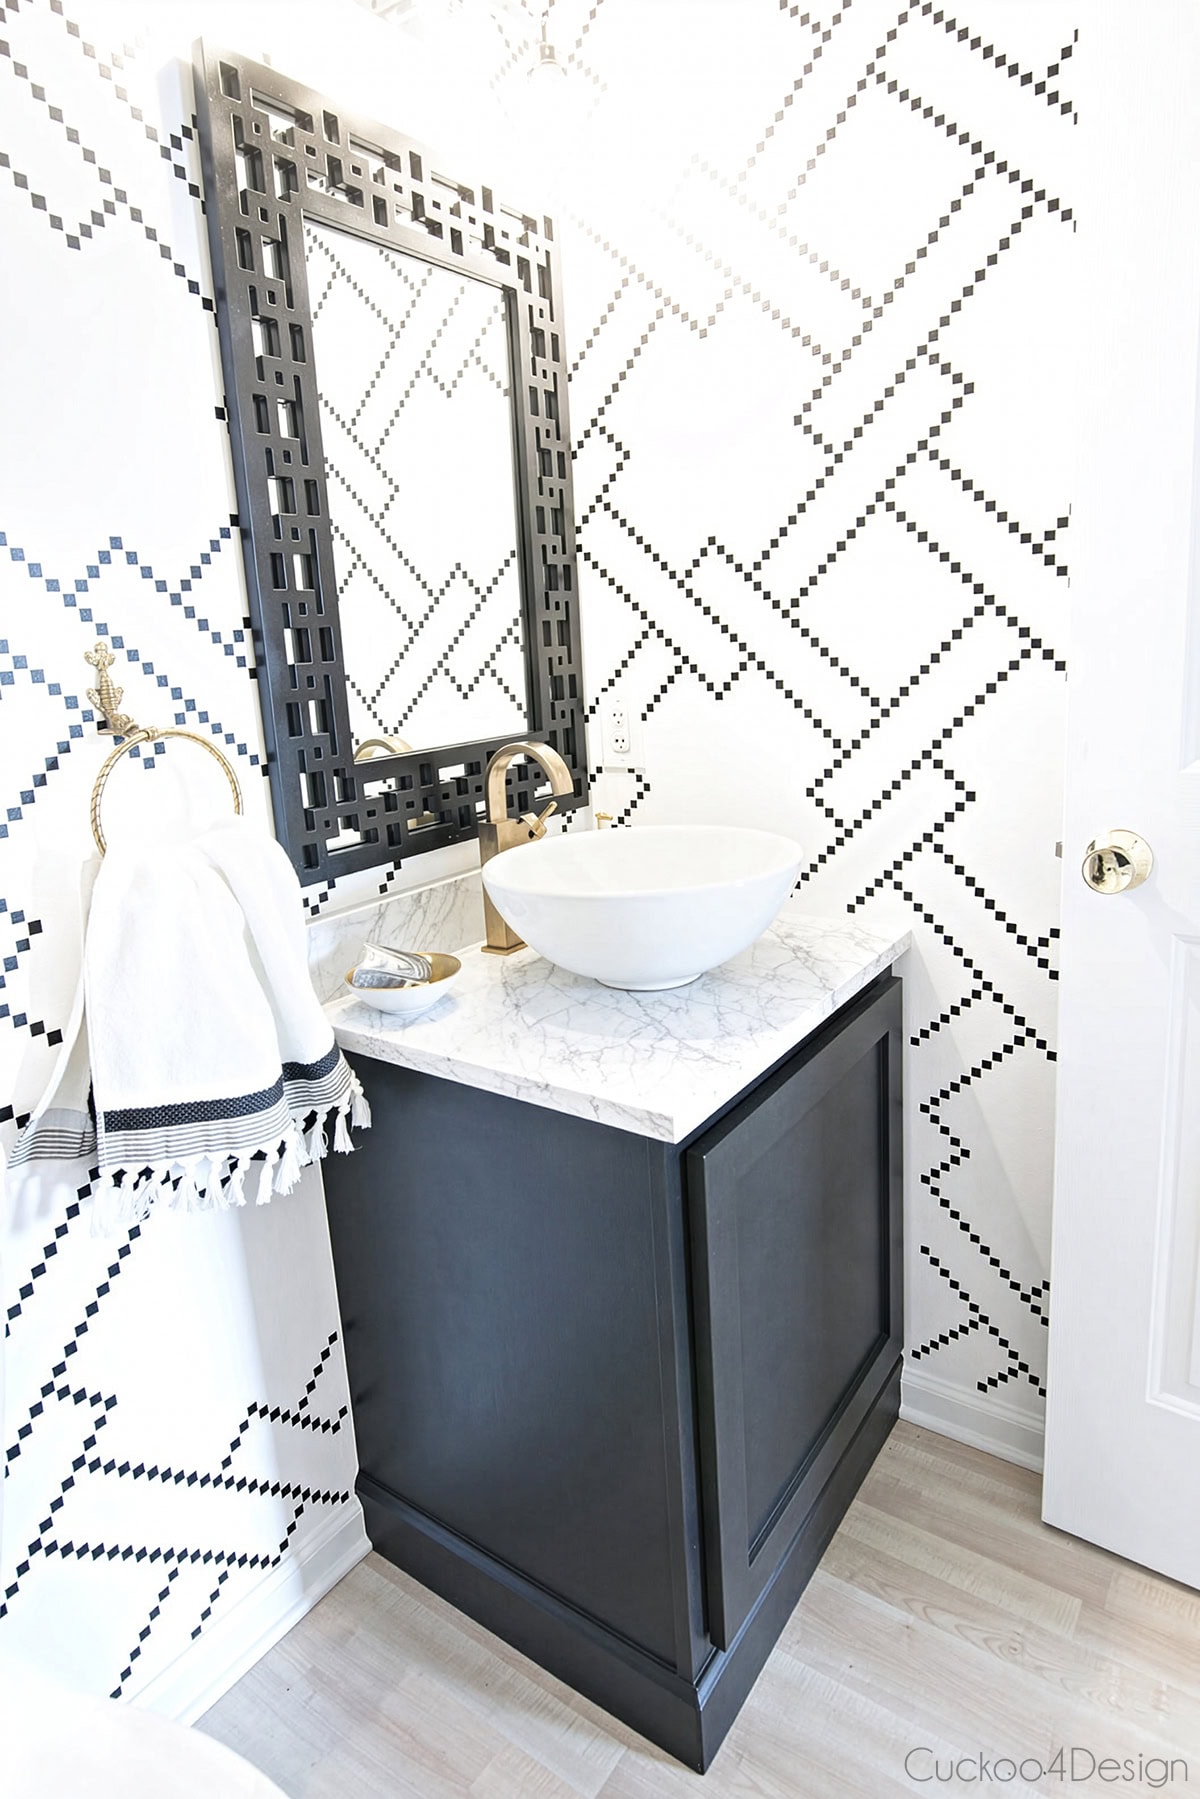
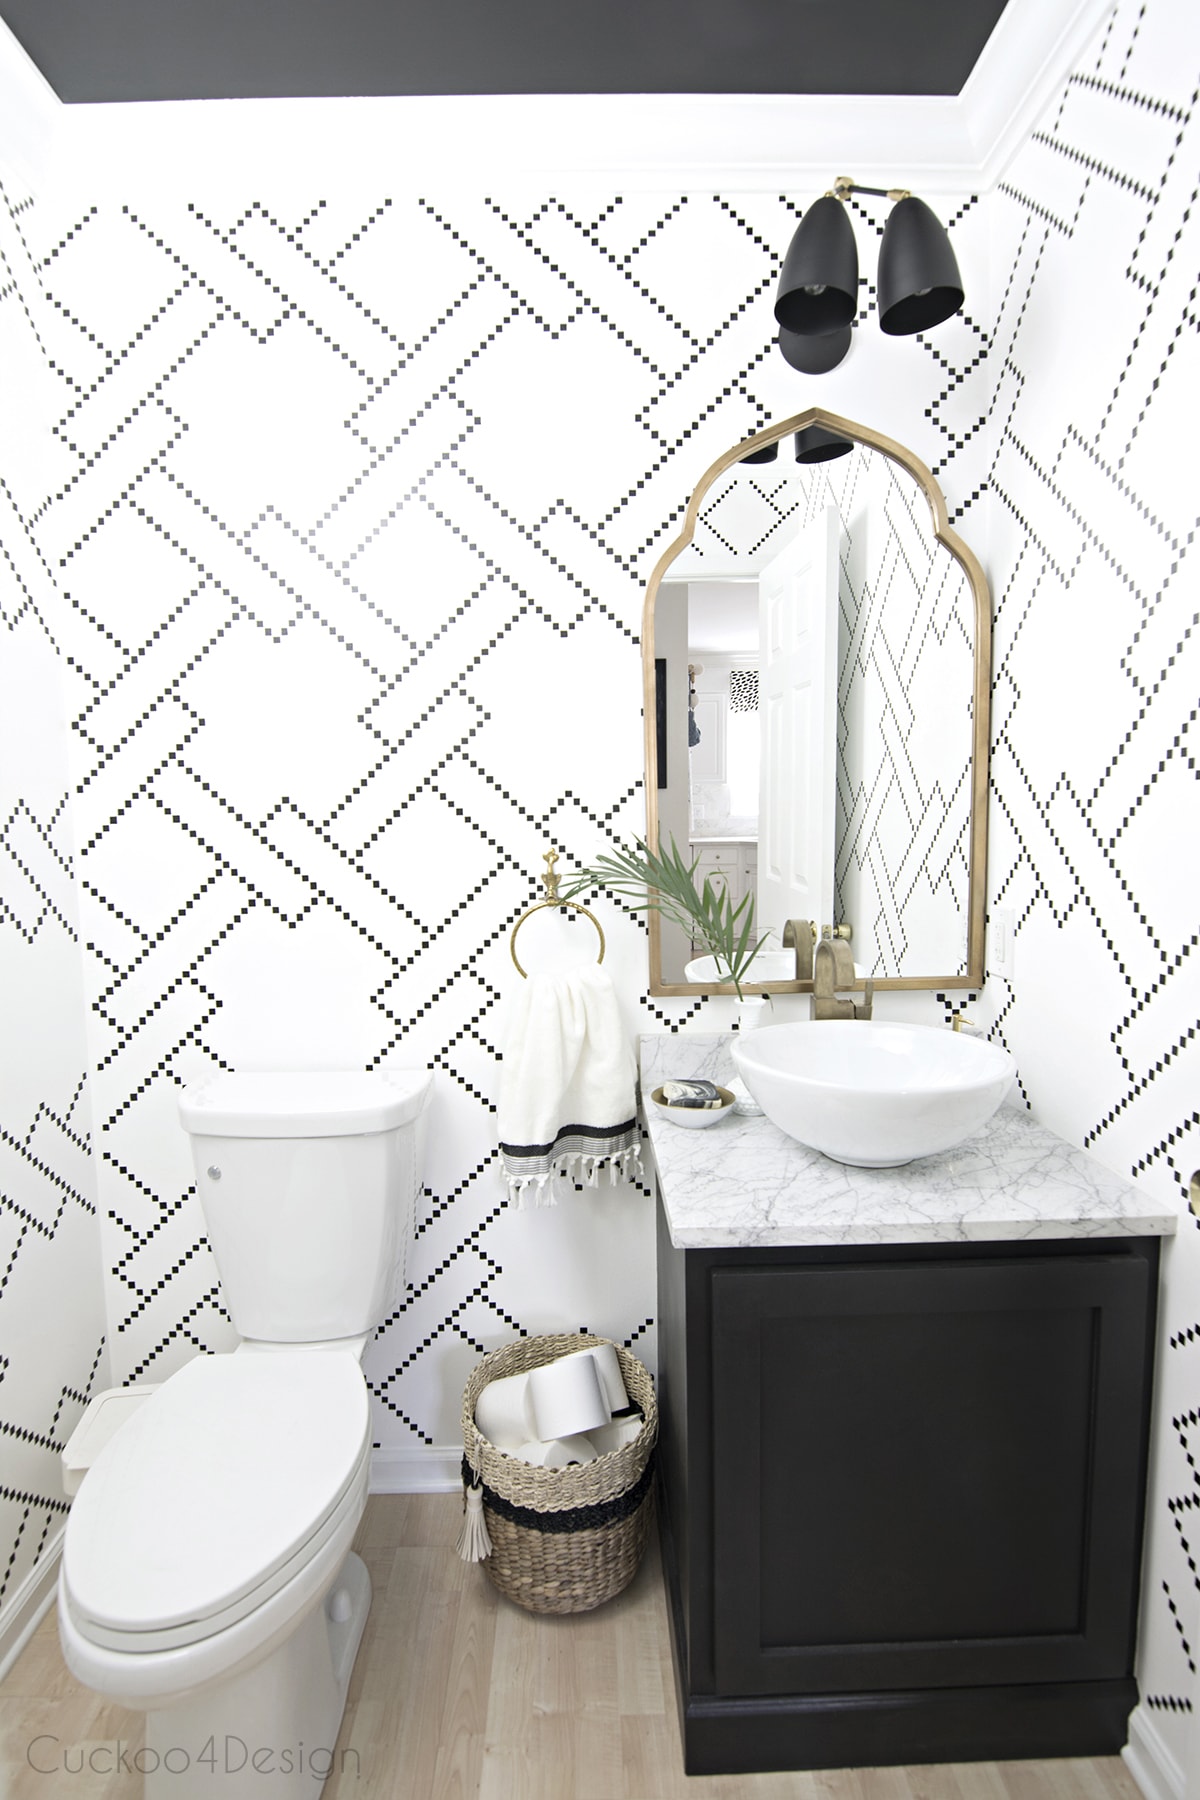
After the white and gold look, I painted the vanity black and added a stencil treatment to the wall. I made the stencil, and it is for sale. Check out my black and white stencil makeover of the powder room.

More of my cabinet makeover tutorials
- My favorite painting tips and tricks
- Adding a kitchen island post to your existing cabinetry
- how to update laminate kitchen cabinets
- cutting down a half-wall kitchen counter to create a kitchen island
- How to install wall moulding the easy way
- Stylish DIY towel holder using wood and leather
Don’t you think the vanity looks much better without the cabinet kick plate? And it didn’t cost much at all.
Tschüss

Those bowls WOULD make some awesome pendants. Maybe for your kitchen? 😉
That’s what I was thinking, or maybe for our bar but then I would need an electrician again 🙁 lets see!
it’s amazing what a big difference something as small as a kickplate can make! it looks so good! love he new knob, too!
and thank you so much for your kind words about me- you crack me up! you are gorgeous and young…. i feel like the ogre of the two of us! 🙂 wish you lived closer, too, but so glad we can plan other things in the future!
Nope, no ogres …I don’t see any!
Yes planning sounds fabulous!
Thanks Ali for coming over!
Wow! That turned out amazing!!! 🙂 and the pull is cute!
Thank you
I have to agree with you on thoughs bowls!! They would totally rock as pendants. Good eye! Also love the new knob! And the kick plate what a difference!
I do not even know the way I stopped up here, however I thought this put up was great.
I don’t recognise who you are but certainly you’re going
to a well-known blogger should you are not already. Cheers!
Feel free to visit my weblog – Know More
Wow your new kick plate looks great, and I personally liked the way you did it. I’m pinning this to my DIY board for future reference too!
Thank you!