

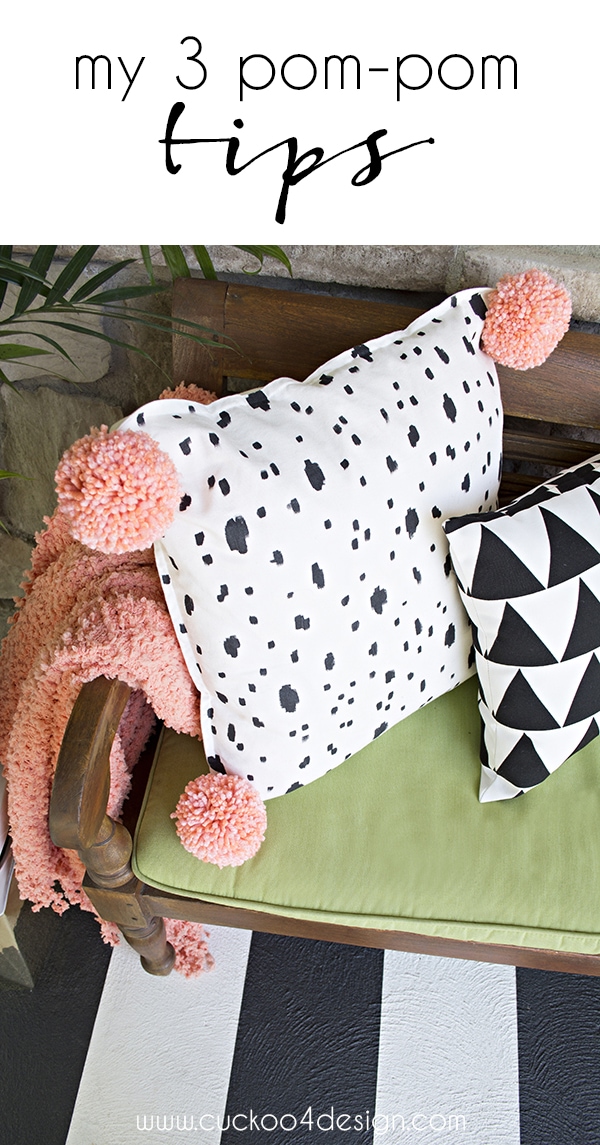
My top 3 tips for making pom poms
I have a new obsession and it is making pom poms. You guys know that I love working with yarn but it’s usually involving macrame yarn. My favorite and easiest macrame project is my macrame feathers tutorial.
Today’s post involves standard wool though and I gathered my top 3 tips to show you how I get beautiful thick and fluffy pom poms with some added interest and texture to them.
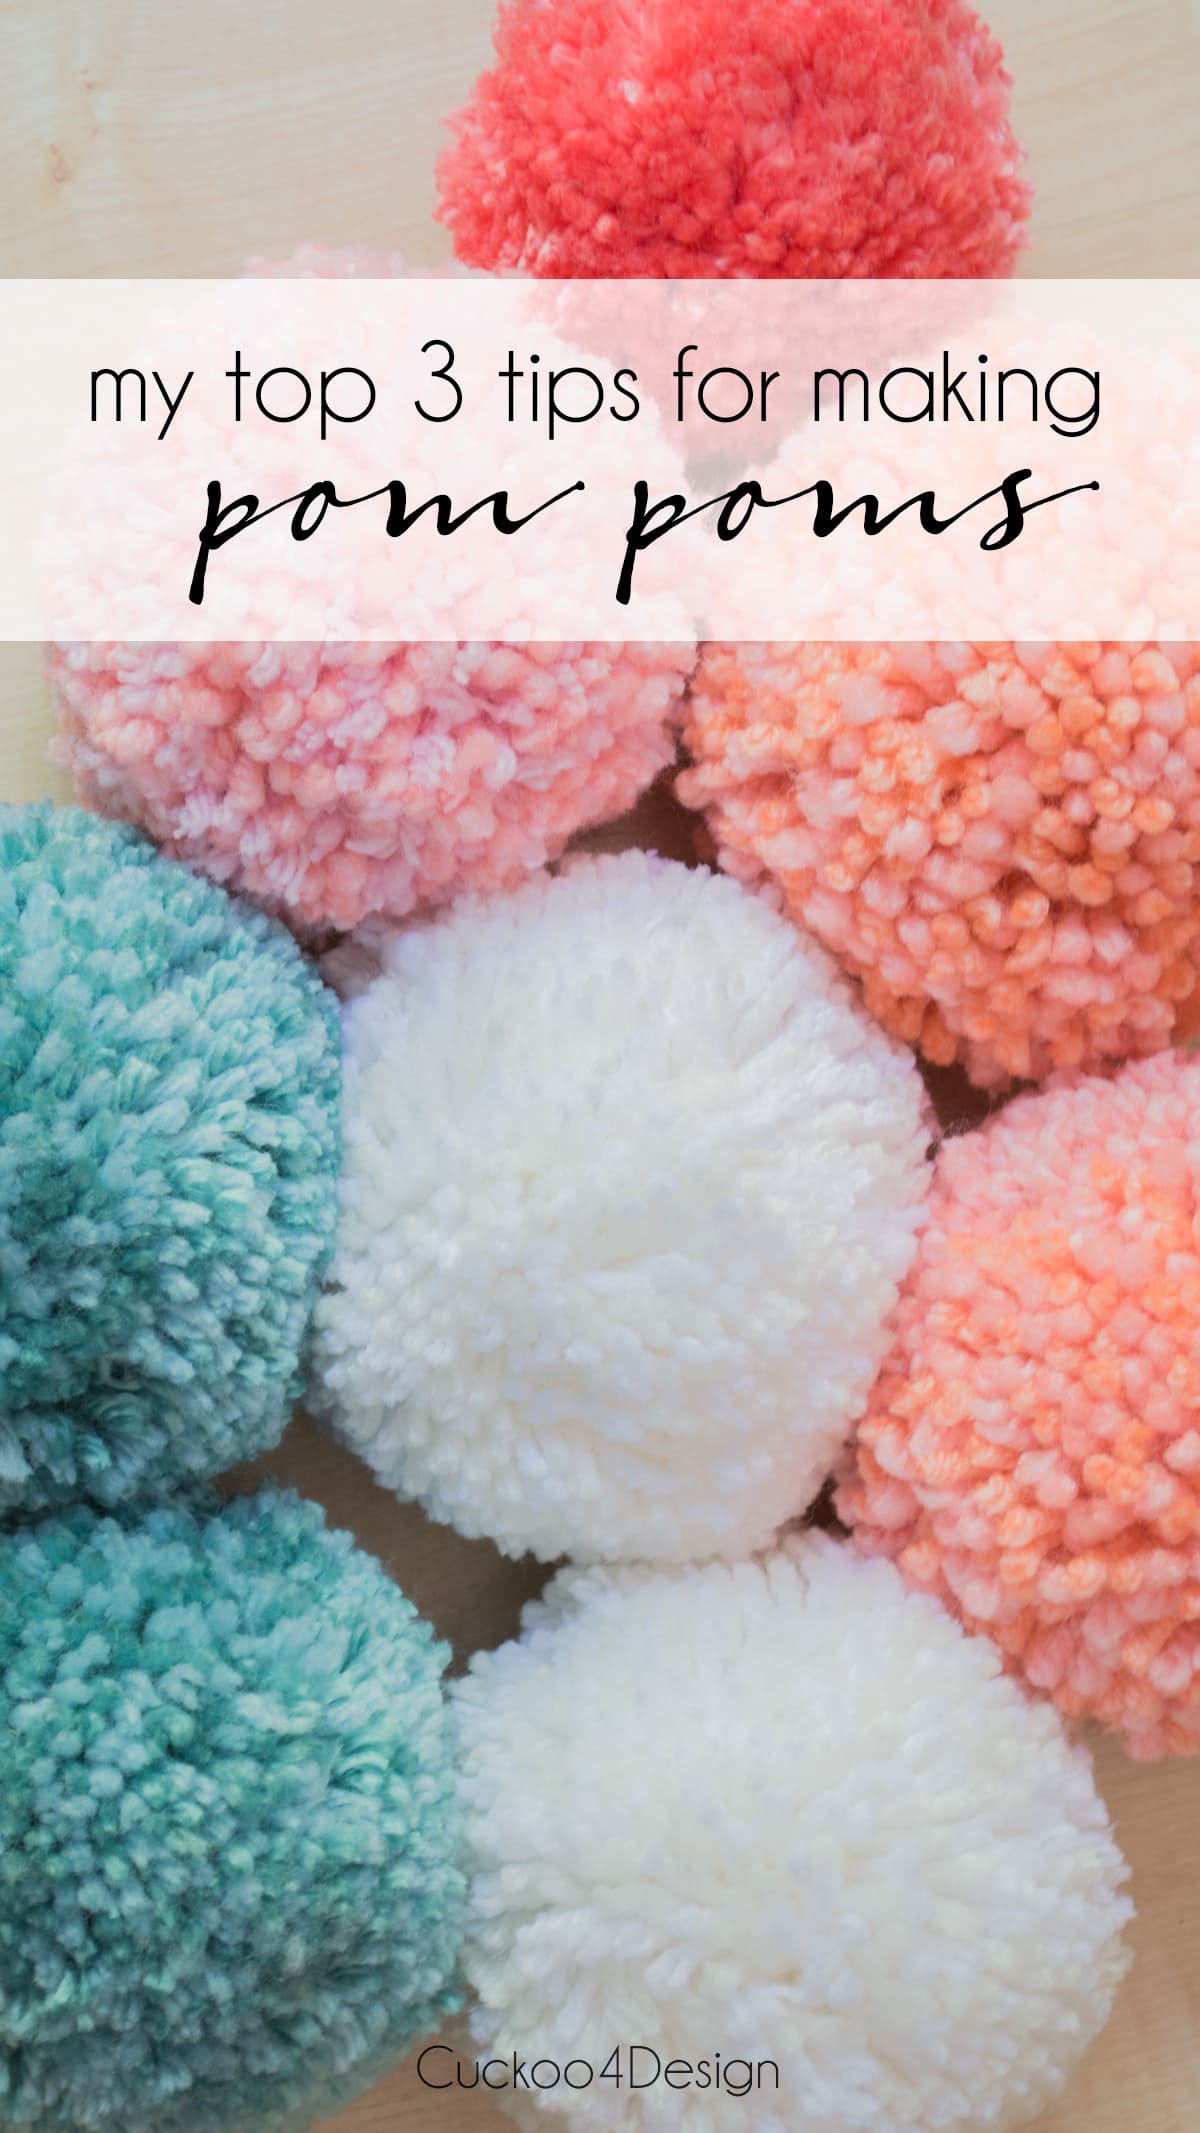
My favorite 3 tips/secrets for making pom poms
This post may contain affiliate links from which I will earn a commission at no extra cost to you. View my full disclosure policy.
Tip #1: Use a pom-pom Maker
I had never tried a pom pom maker until we recently went to the lake and my friend brought one for the kids to craft with. It is a game-changer and works so much better than using a fork or cardboard. I also mention other methods below but the pom pom maker is without a doubt the best and easiest way, especially since it is a lot more sturdy than some of the other methods.
I was hooked and bought a pom pom maker right away when I came home.
I’m telling you, buy a pom-pom maker. I bought THIS one which is the one you can see below. It really is worth it and helps so much.

How to use a pom pom maker
Most DIY pom pom makers have pretty good instructions on the packaging’s back but in case yours doesn’t, I thought I’d tell you just how easy they are to use.
- open up the pom pom maker on both sides
- wrap one of the sides tighly with your wool yarn. I love going as thick as possible to add the most fluff possible
- fold the wrapped side back into the center
- wrap the other side and fold back to the center so you end up with a wrapped circle
- use very sharp and strong scissors to cut the yarn ends/loops open around the perimeter of the yarn circle
- cut a longer piece of yarn, wrap it around the circumference of the cut circle and then tie that piece of yarn and pull it tight until it dissapears inside the circle. After that tie a very tight knot. Let the end of the yarn hang down and don’t trim it in the next step so you can use it later for to attach your fluffy ball to whatever you want.
- finally trim your pom pom with the sharp scissors into an even ball
How do you make pom poms without a pompom maker?
- use a piece of cardboard with slit in center (or round cardboard template/cardboard ring): wrap yarn around a piece of cardboard, tie in center and cut ends open
- use a fork to create mini pom poms: wrap yarn around a fork, tie in center and cut ends open
- use two cardboard toilet paper rolls: wrap yarn around two toilet paper rolls, tie the wrapped yarn in the center of the two rolls and cut ends open to create a fluffy ball
- use your fingers: wrap enough yarn around 3 fingers the same way as you did when using a fork. This can be a bit tricky if you do it on your own hand
- use a small ring/hoop to wrap yarn around that can be tied in the center
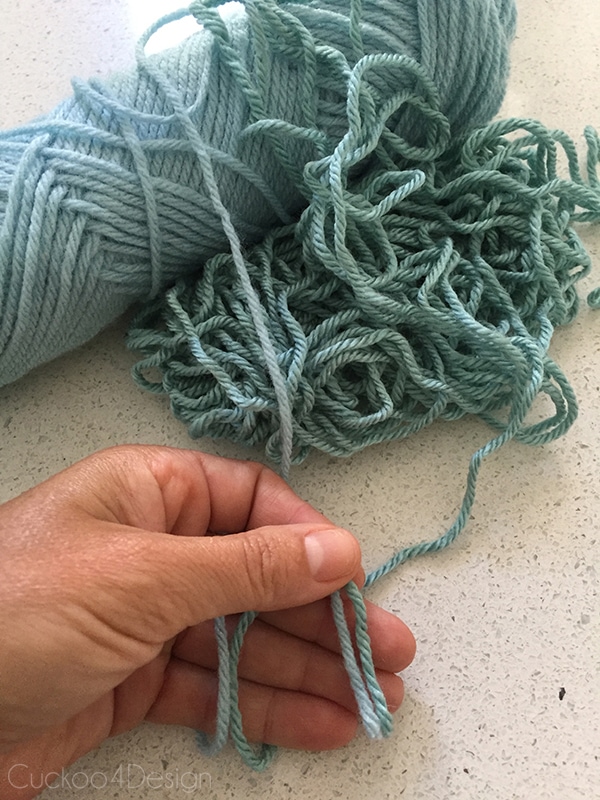
Tip #2: Use two similar wool colors
When making dense pom poms, I love using two colors that are very close and then using those together for one pom pom because it gives it more dimension and texture. Look at the colors below.
Here are some multi colored examples:
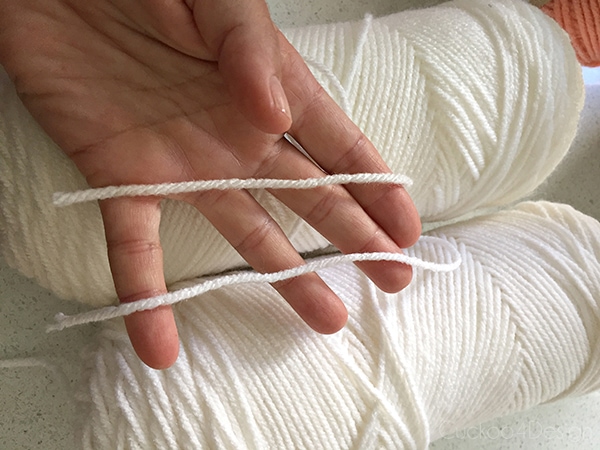
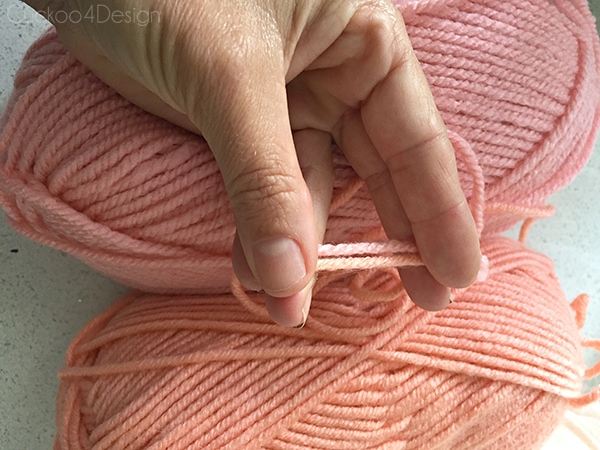
And below is how I wrap them around the pom pom maker. Using two strings of yarn makes it a lot faster too.
Just grab the two colored strands of yarn of your choice together and wrap them around the pom pom maker together as shown below.
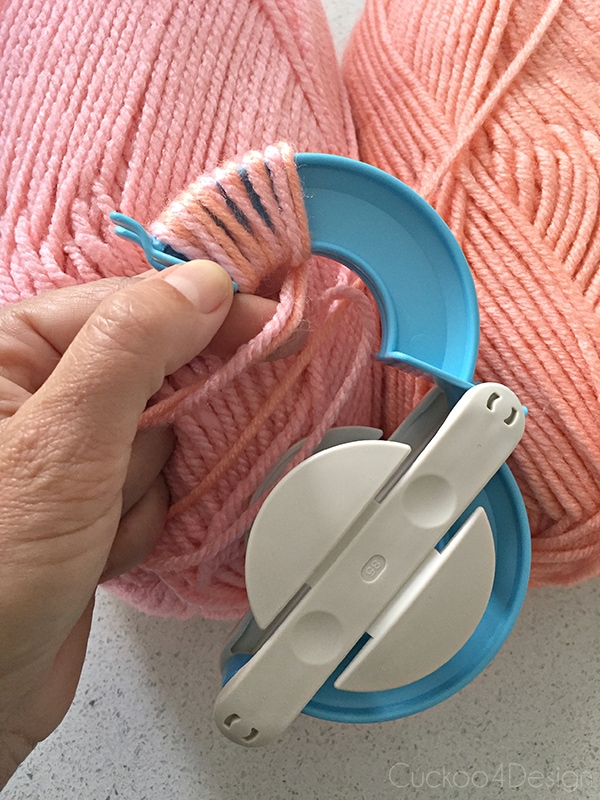
And here you can see how they look when done in their two tones. The off-white and white are barely noticeable but I adore the slight variation.
It’s the same concept when painting a painting, you use different similar paint colors to create depth, shading, and variations. This definitely gives the look added interest.

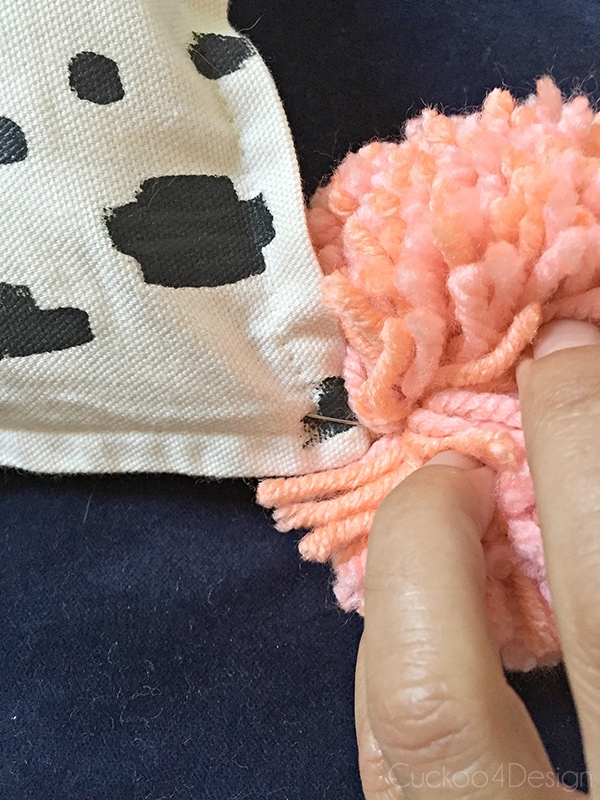
Tip #3: Use safety pins
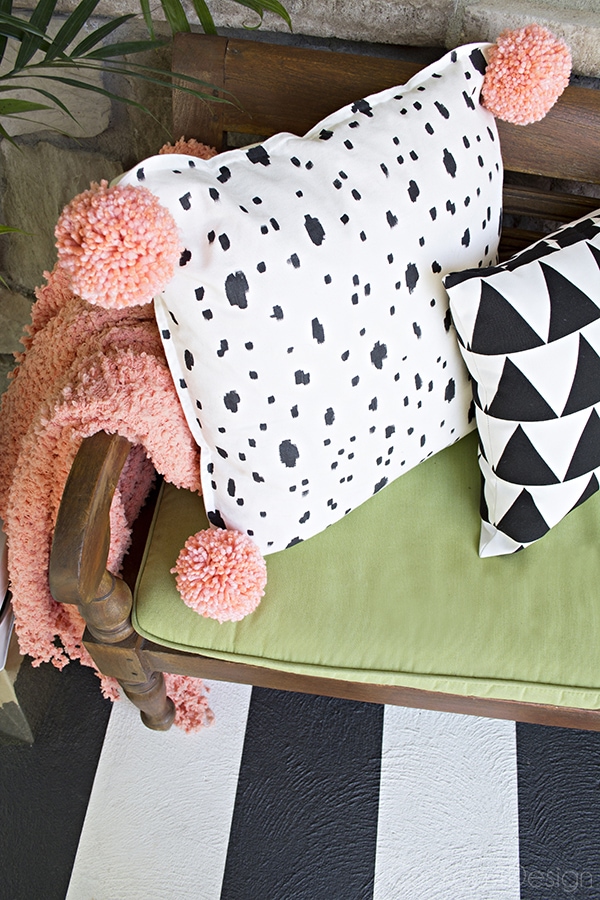
Another idea I had instead of sewing pompom’s on the pillow corners as you can see in the photos is that I used safety pins to attach them. I used very small pins and attached them to the knot where I tied the yarn together and then pinned them to the corner of the pillow. The reason for that is:
- I hate sewing and it would take so long to attach them
- I might change my mind very very soon and use them somewhere else, so sewing them on is clearly a waste of time.
- I might want to wash the pillow cover but don’t/can’t wash the furry balls with it. So the safety pins make it super easy to remove them.
I personally think the safety pins are a great idea.
So now I sit there during the day when my kids have a friend over to play and make pom poms, LOL. It might also just be something that justifies me bing watching Vikings on Amazon Prime. Because otherwise, I would look pretty lazy if I’d just sit there and watch a show. So now I sit there and watch Vikings while making pom poms. I am a weirdo, right?
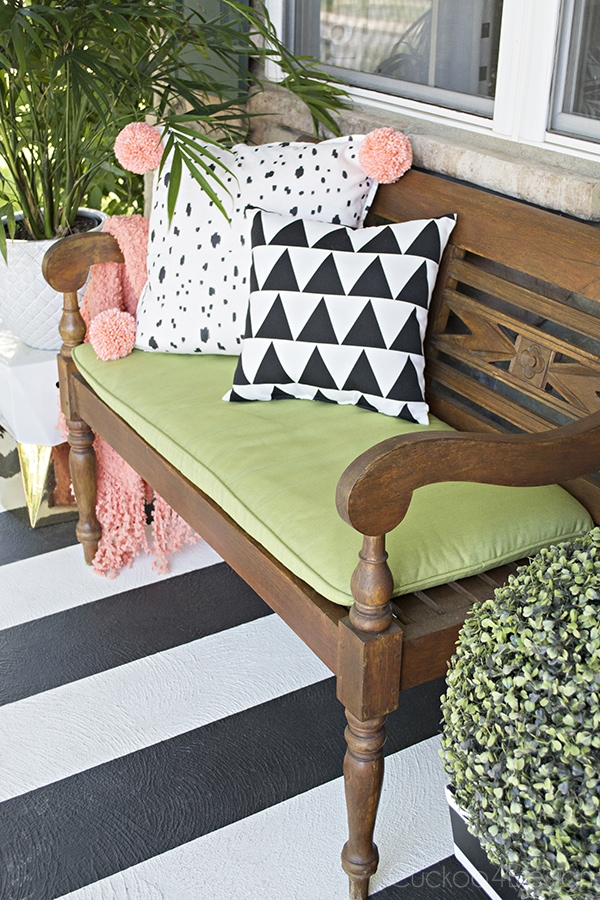
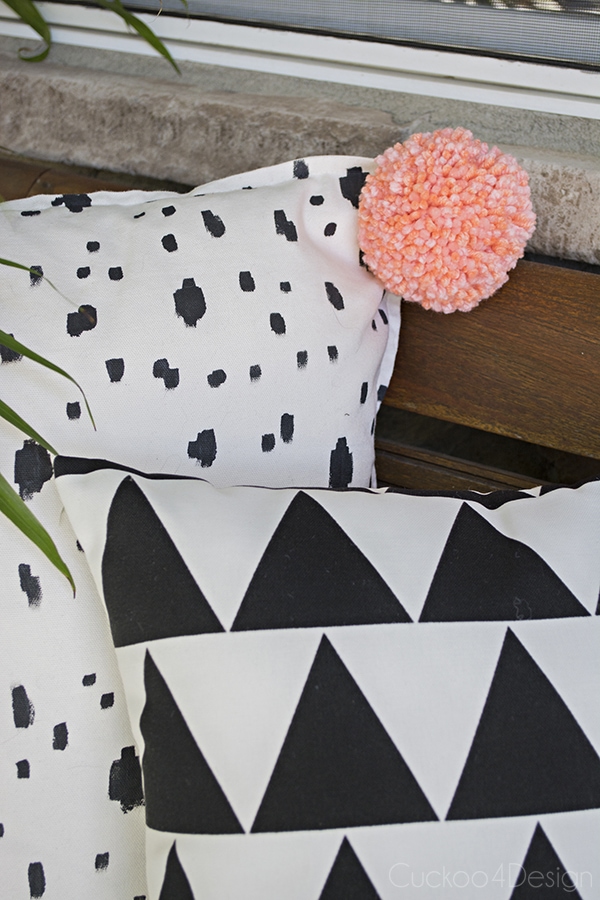

In case you are wondering about my porch floor pictured in the photos, I painted the concrete in stripes and the paint job has lasted for years.
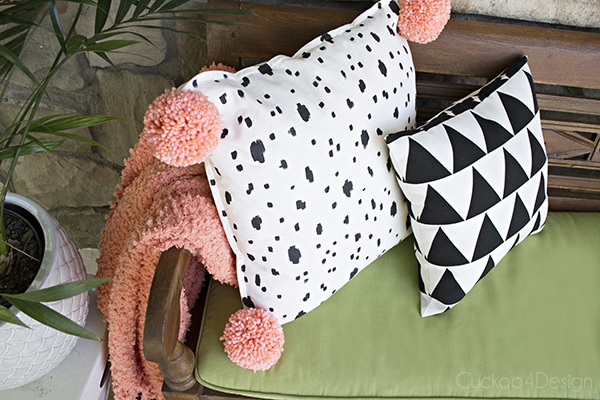
I also painted the dotted pillow with fabric paint which is described in this blog post HERE where I painted dishtowels the same way. I used acrylic paint mixed with fabric medium and it works great.
Two other yarn projects of mine for you to check out are my easy yarn tassels (video also on my YouTube channel) and my wool and yarn macrame leaf.
Have fun making those cute little yarn balls and adding them to your home decor accessories. I’m telling you they are addicting to make. I’m not kidding 😉
these are so adorable! i love my pom pom makers, too- they make it so easy. love the similar colors tip! 🙂
So much easier than the forks method 😉
Can’t go wrong with a good pom pom. We used to make them all the time as kids to add to our roller skates. I’m glad my skills have finally come back in style. I’ve not used this kind of pom pom maker before but I’m all for a better way.
Oh I used to love to roller skate too but we never put pom-poms on them. That probably looked really cute 😉
I was wondering how you made your pompoms so full and fluffy! Thanks for sharing these Julia, and no, your not “strange” at all! I love them and have made them using the fork only!
I used to do the fork method too Vel but these pom-poms don’t even compare to the fork ones. So much better and easier.
(what’s a pom-pom throw????)
It’s one of those throws who have pom-poms sewn around the edges. If you google it there will be a ton of photos. They are so fun
Thanks for the tips Julia. I hadn’t seen these before and it has inspired me to order some and have a go!
Thanks good luck!
It is official, I need the pom pom maker! Your pompoms are the best I have seen so far, super plush and pretty.
Thanks Jessica, I thought I didn’t need one and then when I tried it, it changed everything 😉
I’ve never made pom poms but I adore them.
Well you should try
Well, your strangeness is my fortune I guess, so thanks for being you and sharing!
LOl thanks. I hope you like it as much as I do.
I love how your pillows turned out! Thanks for sharing.
You know how much I looovve making poms, but I’ve never used a for real pom pom maker. I think you’ve convinced me to get one! And, your safety pin idea is BRILLIANT! It takes FOREVER to sew those things on… not a fun job! Love the easy removal, too, when the time comes that you’re ready for a change or to switch them to another pillow. Lastly, LOVE your idea of mixing 2 similar colors for depth and interest. I’ve mixed two different colors before, but wouldn’t have thought to mix two similar shades. Love it!
I went a little crazy Christmas before last and bought every size they make of those pom pom makers :). I should really pull them back out and use them again!
I have the same Pom Pom maker, love it. I’ve made bi-color Pom poms-so 1/2 is white 1/2 black which I like a lot. Hadn’t thought of mixing to shades throughout. I’m going to try that! And safety pinning? Goodness, how easy. Why didn’t I think of that? 🙂
I really didn’t know pom-pom makers existed, def makes life easier! Really enjoyed the tip on using colors that are slightly different!
I’ve never seen a pom pom maker before! Does it really make a big difference versus just doing them on your hand?
Oh yes it does. I didn’t want to buy one because I thought the same thing but then my friend brought it on vacation and I was hooked